Setup guide
1. Run the project locally
1. Create a fork of the project repository.
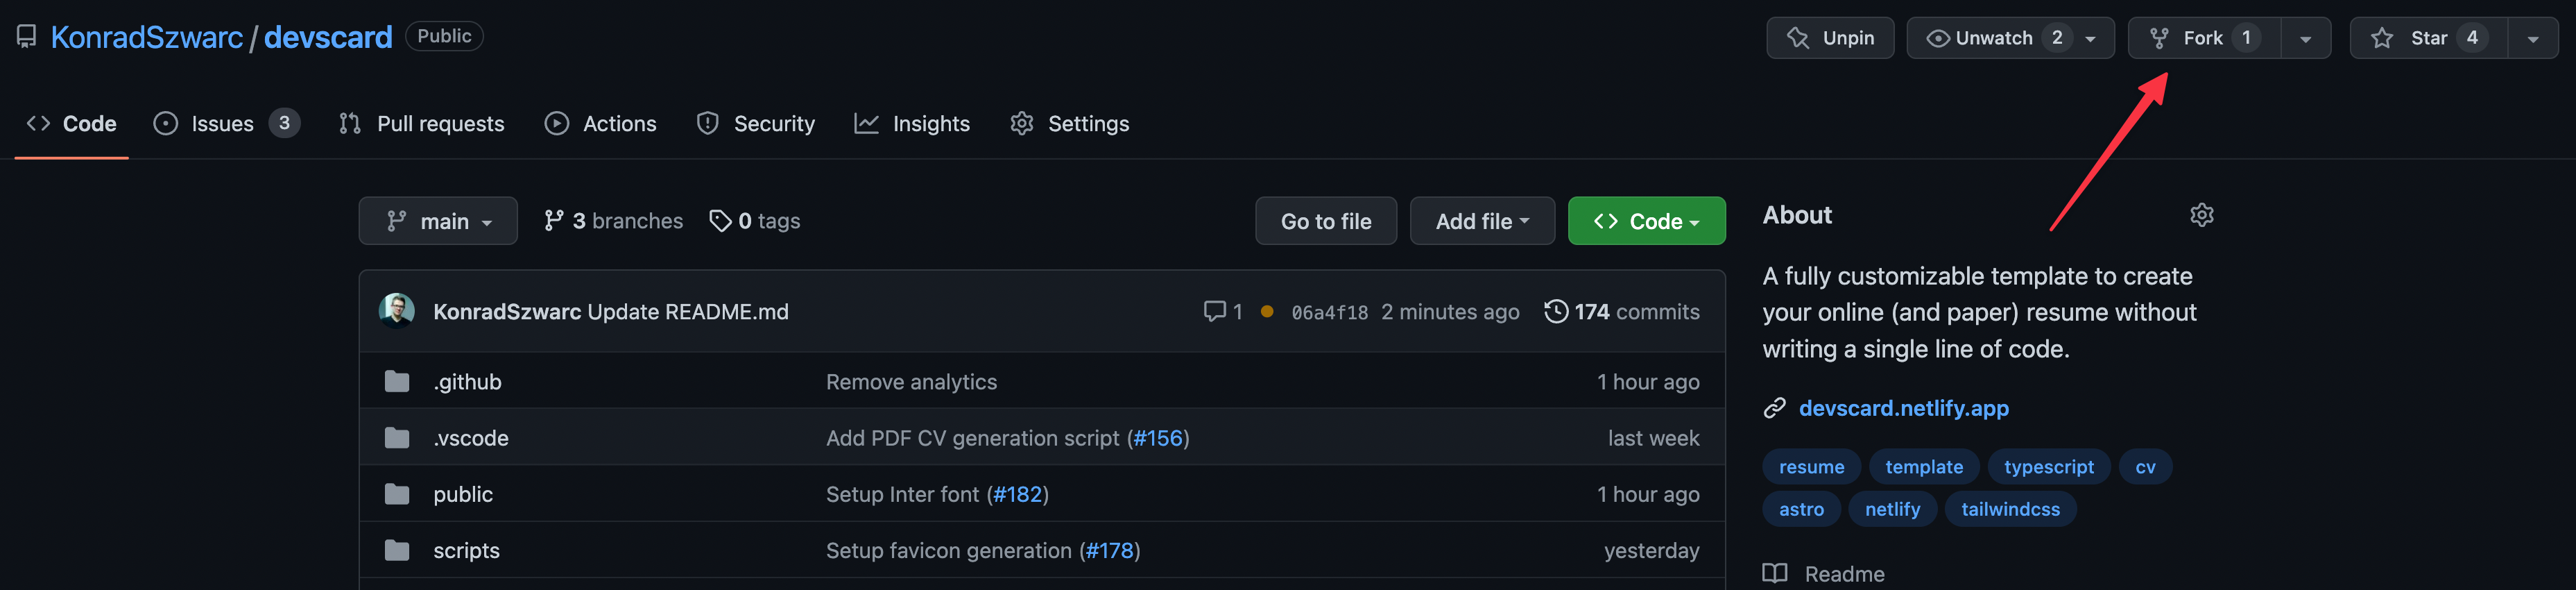
2. Go to the forked repository and clone it to your local machine.

3. Open the cloned project in your IDE of choice and run bun install.
4. Invoke bun run dev in the project's root directory and go to http://localhost:4321. You should see a resume website filled with initial data.
2. Provide your data
Basics
To fill the CV with your data, you will work primarily in src/content and src/data.
src/content— contains Markdown files for each section of the resume (Experience, Education, Portfolio, etc.). Edit these files to update your content.src/dataconfig.ts— use it to provide metadata of your website and set up its locales.helpers— helper functions you can utilize to reduce the amount of repetitiveness when setting up your socials and skills.links.ts— functions that ensure you always use the same icon and name when providing links to external websites.skills.ts— one place where you define your skills to reuse them in multiple sections.
Tips
- Content is now managed via Content Collections. Each section has its own folder in
src/content. - Frontmatter in the markdown files is used to define structured data like dates, links, and tags.
- Use
bun run generate-pdfto generate the PDF resume.
3. Generate PDF (optional)
Within the main section, you will find an action property. It allows you to provide a pdf resume to download. If you don't have one, feel free to use our CV generator by invoking bun run generate-pdf. Generated resume will be placed in public/cv.pdf and use the same data as the web one. You can learn more about PDF generation here.
4. Deploy
Main Website
This project is configured to deploy to Vercel automatically.
Documentation
The documentation (this site) is automatically built and deployed to GitHub Pages whenever you push to the main branch.